The world of video production is filled with camera movements that can elevate a simple scene into a breathtaking cinematic experience. Among the most powerful is the orbit shot, a dynamic move that wraps around a subject, creating a sense of depth, scale, and focus. But executing it smoothly can be a challenge. If you’ve ever struggled to master this technique, you’re in the right place. This definitive guide will teach you How To Do An Orbit Shot With A Gimbal, transforming your footage from shaky to stunning and unlocking a new level of professionalism in your work. We will demystify the process, breaking down the mechanics, preparation, and execution into simple, actionable steps.
What Exactly Is an Orbit Shot?
An orbit shot, also known as a 360-degree shot or circle shot, is a camera technique where the camera physically moves in a circle around a stationary subject, keeping the subject in the frame at all times.
Think of the Earth orbiting the Sun. The Sun remains the central, unwavering focus while the Earth (your camera) moves along a consistent, circular path. This movement adds a three-dimensional quality to an otherwise flat image, revealing different angles of the subject and its environment in one fluid motion.
This shot is incredibly versatile. In narrative films, it can heighten tension or signify a pivotal moment for a character. In product videography for cosmetics or electronics, an orbit shot can showcase a product from every angle, giving it a heroic, premium feel. In a real estate video, it can reveal the relationship between a central feature, like a kitchen island, and the surrounding open-plan living space. The goal is always the same: to draw the viewer’s eye and add dynamic energy.
Pre-Flight Check: Gearing Up for the Perfect Orbit
Before you even think about hitting the record button, proper preparation is 90% of the battle. Skipping these steps is the most common reason why aspiring creators end up with wobbly, unusable footage.
The Unskippable Step: Perfect Gimbal Balance
A gimbal works by using motors to counteract unwanted movement. If your camera setup isn’t perfectly balanced on the gimbal before you turn it on, the motors have to work overtime. This leads to micro-jitters, audible motor strain, and drained batteries.
- Axis by Axis: Balance each of the three axes (tilt, roll, and pan) independently. Your camera should stay perfectly level in any position you place it, even with the gimbal powered off.
- The “Drop Test”: A well-balanced camera on the tilt axis should slowly drift down when tilted 45 degrees up or down, not slam or stay rigid.
- Invest the Time: Spending an extra five minutes on balancing will save you hours of frustration in post-production. This is the foundation upon which every smooth gimbal shot is built. If you need a refresher, check out [our in-depth guide to balancing any gimbal].
Choosing Your Settings
- Lens Choice: A wider lens (e.g., 16-35mm) is more forgiving for orbit shots. It minimizes the appearance of small shakes and makes it easier to keep your subject in the frame. A telephoto lens will amplify every tiny mistake.
- Focus: Don’t rely on continuous autofocus unless you have a top-tier system you trust completely. The safest bet is to switch to manual focus. Set your focus on the subject, and since your distance from the subject should remain constant throughout the orbit, it will stay sharp.
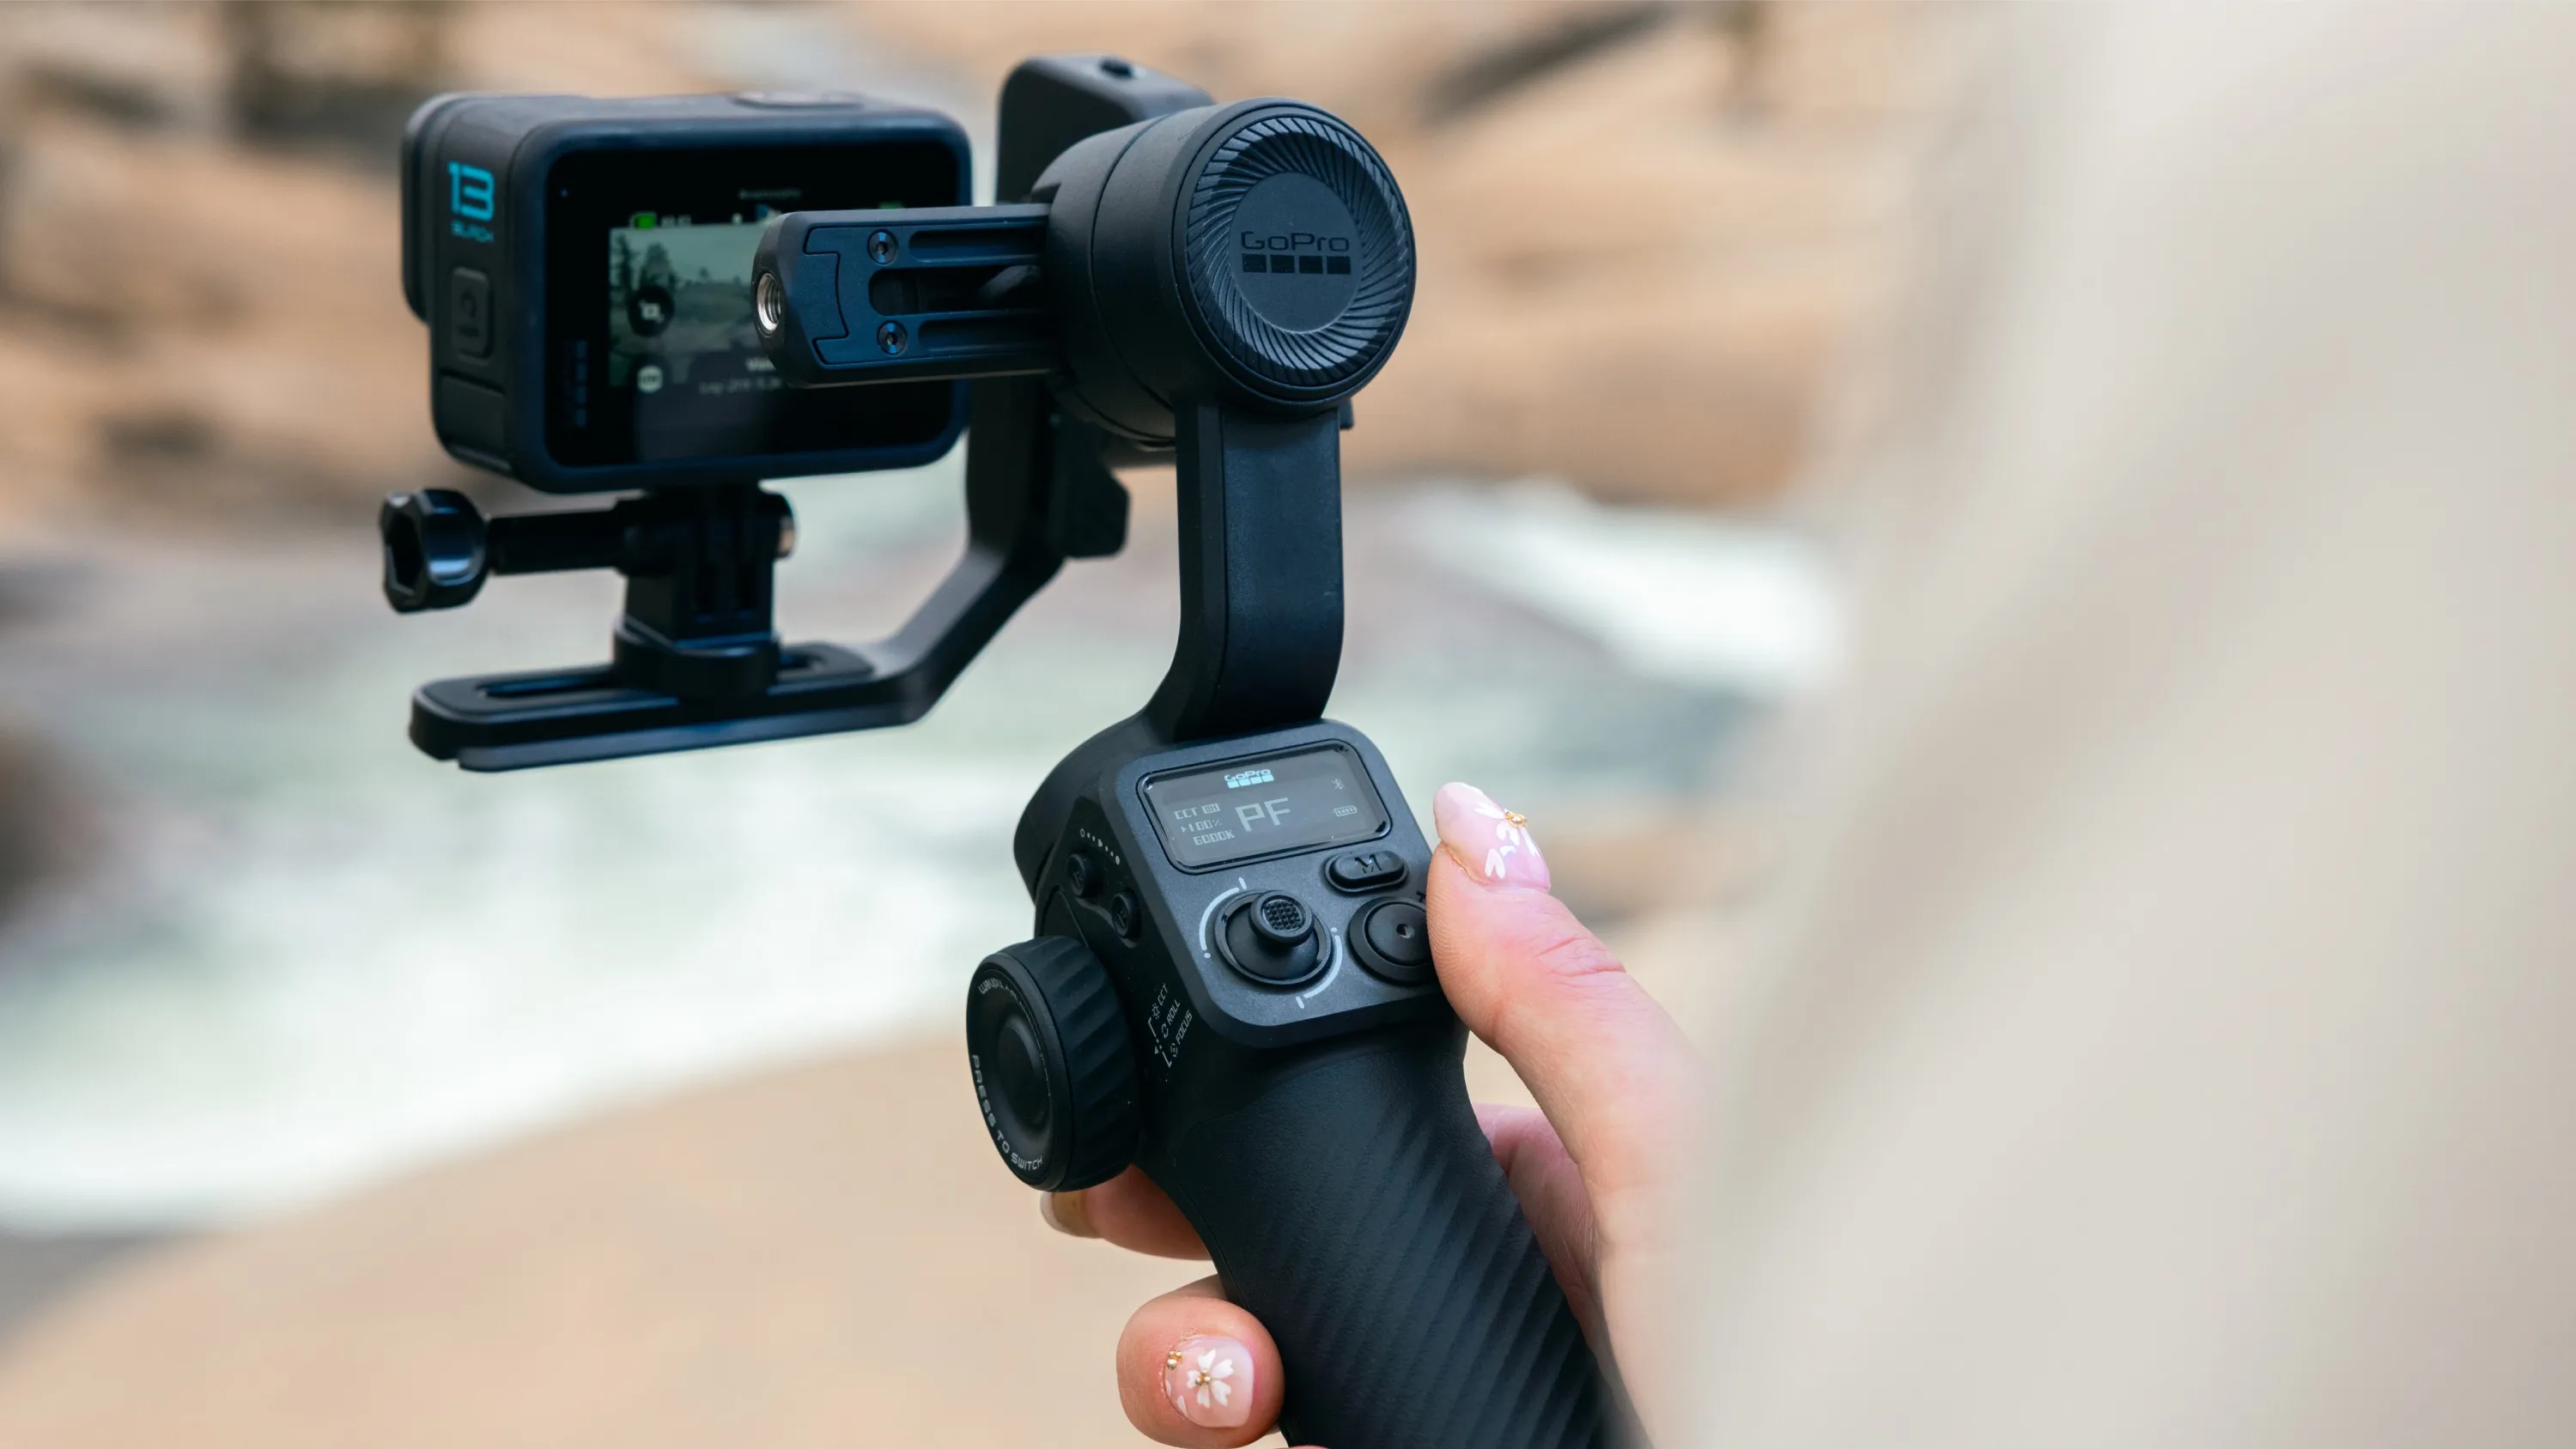
- Gimbal Mode: For most orbit shots, Pan Follow Mode (sometimes called PF) is your best friend. In this mode, the gimbal smooths out your panning movements left and right while keeping the tilt and roll axes locked. This allows you to guide the camera smoothly around the circle.
[amz id="stabilizer"]
How to Do an Orbit Shot with a Gimbal: A Step-by-Step Guide
With your gear balanced and your settings locked in, it’s time to execute the shot. The key is to make your body and the gimbal work together as one fluid system.
- Establish Your Center Point: Place your subject in the exact center of the path you intend to walk. This is your anchor.
- Walk Your Path (Without Filming): Before you even look at your monitor, physically walk the circular path around your subject. Get a feel for the terrain. Are there any bumps, cables, or obstacles? This “dry run” builds muscle memory and helps you anticipate any challenges. Your goal is to maintain an equal distance from your subject at all times.
- Adopt the “Gimbal Ninja Walk”: The biggest enemy of a smooth shot is the vertical bobbing motion from your own footsteps. To eliminate this, you need to become a human shock absorber.
- Bend your knees slightly.
- Walk heel-to-toe in a smooth, rolling motion.
- Keep your upper body, from your hips to your hands, as stable and isolated as possible. Let your legs do all the work. It might look a little strange, but the resulting footage will be buttery smooth.
- Frame Your Shot and Begin Moving: Hold the gimbal with both hands for maximum stability. Start moving along your pre-planned circular path before you hit record. This ensures the beginning of your shot is already smooth.
- Steer, Don’t Jerk: As you walk the circle, your body’s natural movement will handle most of the rotation. However, you’ll need to make tiny, subtle adjustments to keep the subject perfectly centered. Use your thumb on the gimbal’s joystick to apply gentle and consistent pressure to the pan axis. The goal is to make micro-corrections that are invisible to the viewer. Avoid jerky, sudden movements of the joystick.
- Complete the Circle: Continue your smooth “ninja walk” and gentle steering until you have completed the desired arc, whether it’s 90, 180, or a full 360 degrees.
- Practice in Both Directions: Master the orbit both clockwise and counter-clockwise. This gives you more creative options when editing.
Elevating Your Orbit: Advanced Techniques
Once you’ve mastered the basic how to do an orbit shot with a gimbal, you can start adding layers of complexity for even more dynamic results.
Introducing the Parallax Effect
The parallax effect is what creates that incredible sense of 3D depth. It happens when you have objects in the foreground and background moving at different apparent speeds relative to your subject.
“The orbit shot is my go-to for making a product feel premium,” says commercial director David Chen. “By placing a small plant or a lamp in the foreground, the orbit reveals the product behind it, creating a sense of discovery and making the entire frame feel more dynamic and immersive.”
To achieve this, simply place an object between your camera’s path and your main subject. As you orbit, this foreground element will glide across the frame, dramatically enhancing the shot’s depth.
Combining Movements: The Orbit Push/Pull
For a truly advanced shot, try combining your orbit with a push-in or pull-out. As you are circling your subject, slowly walk closer to it (a push) or further away (a pull). This creates a powerful spiraling effect that can be incredibly compelling, often used in music videos or high-energy commercial work.
Common Orbit Shot Mistakes and How to Fix Them
- Inconsistent Speed: Your walking speed varies, making the shot look amateurish.
- Fix: Practice walking the path at a consistent tempo. Hum a song or use a metronome app in your ear to keep a steady pace.
- Bouncy Footage: The shot has a noticeable up-and-down movement.
- Fix: Your “Gimbal Ninja Walk” needs more practice. Bend your knees more and focus on absorbing the impact of each step. Also, double-check your gimbal balance.
- The Subject Drifts Off-Center: You struggle to keep your subject perfectly framed.
- Fix: This is a coordination issue. Practice making smaller, more deliberate joystick adjustments. Sometimes it’s easier to focus on a specific point on your subject (like a logo on a product or a person’s eye) to maintain framing.
Frequently Asked Questions (FAQ)
What is the best gimbal mode for an orbit shot?
Pan Follow (PF) mode is generally the best choice. It allows you to control the left-to-right panning motion smoothly while the gimbal stabilizes the tilt and roll, which is exactly what you need for a clean orbit.
How do I keep my orbit shot smooth without any bouncing?
The key is the “ninja walk”: bend your knees, walk heel-to-toe, and keep your upper body stable. This technique absorbs the impact of your steps. Also, ensure your gimbal is perfectly balanced before you start.
Can I do an orbit shot with my smartphone and a gimbal?
Absolutely! The principles are exactly the same. The light weight of a phone and consumer gimbal can actually make it easier to practice and master the movement.
How far away should I be from my subject?
This depends on your lens and the desired look. A good starting point is to be far enough away to see your subject clearly within its environment but close enough that the orbiting motion is obvious and impactful.
Why does my orbit look more like an egg than a circle?
This happens when your distance from the subject isn’t consistent. Before you film, try placing small markers (like coins or gaffer tape) on the ground to define a perfect circular path to follow.
Conclusion: Your Next Steps to Mastery
Mastering how to do an orbit shot with a gimbal is not about having the most expensive equipment; it’s about understanding the fundamentals of balance, movement, and control. It’s a skill that combines technical preparation with physical grace. By following the steps outlined in this guide—prioritizing balance, practicing your movement, and starting simple—you can add this incredibly cinematic and professional shot to your creative toolkit. Now, grab your gear, find a subject, and start practicing. The perfect orbit is just a few circles away.