There’s an undeniable magic to a perfectly executed gimbal shot. The camera glides through space, movements are impossibly smooth, and the visual storytelling is elevated to a professional standard. But that magic can be shattered in an instant by one thing: bad audio. Finding the Best Microphone Setup For Gimbal Use is not just a technical detail; it’s the critical step that separates amateur content from cinematic-quality productions. A shot that looks like a million dollars is worthless if it sounds like it was recorded inside a wind tunnel next to a noisy robot.
This comprehensive guide is designed to demystify the art and science of capturing pristine audio while your camera is in motion. We’ll explore why it’s so challenging, break down the ideal gear for different scenarios, and provide a step-by-step process to ensure your sound is as smooth as your footage. Forget muffled dialogue, distracting motor hum, and frustrating cable snags. It’s time to master your gimbal’s audio.
Why is Capturing Audio with a Gimbal So Challenging?
Before we find the solution, we must first understand the problem. A gimbal, at its core, is a beautifully complex machine designed for one thing: stabilizing movement. This single-minded focus introduces several unique audio challenges that you wouldn’t face with a static tripod setup.
- Motor Noise: The brushless motors that perform thousands of micro-corrections per second to keep your shot steady can produce a high-frequency hum. An improperly placed microphone will pick this up, embedding a distracting noise directly into your audio track.
- Balance and Weight: Gimbals are precision instruments. Every gram matters. Adding a microphone, cables, and mounts can throw off the delicate balance, forcing the motors to work harder (creating more noise) or even causing a total stabilization failure.
- Handling and Movement Noise: As you move, your hands on the gimbal grip, the rustle of clothing, or even your footsteps can be transmitted through the gimbal’s body to an attached microphone.
- Cable Management: A stray cable is a gimbal’s worst enemy. A wire snagging on one of the motors can ruin a shot, damage the gimbal, or yank a connection loose, resulting in a complete loss of audio.
Understanding these obstacles is the first step toward building the best microphone setup for gimbal use. It’s not just about buying a good mic; it’s about creating a cohesive system where camera, gimbal, and microphone work in harmony.
Decoding Your Audio Options: Types of Microphones for Gimbals
The right microphone is entirely dependent on what you are shooting. Are you a vlogger talking to the camera, an event videographer capturing ambient sound, or a filmmaker recording critical dialogue? Let’s break down the primary contenders.
The On-Camera Shotgun Microphone: The Versatile Workhorse
An on-camera shotgun mic is often the default choice for many creators. These microphones are highly directional (cardioid or supercardioid pickup patterns), meaning they primarily capture sound from where the camera is pointing and reject sound from the sides and rear.
What is a pickup pattern? Think of it as the microphone’s “field of vision” for sound. A directional pattern like a cardioid is heart-shaped, being most sensitive at the front and least sensitive at the back. This is ideal for isolating a subject from background noise.
- Pros:
- Simplicity: Mount it on the camera’s cold shoe, plug it in, and you’re often ready to go.
- Directionality: Excellent for capturing sound that aligns with your visuals.
- All-in-One: No need for a separate audio recorder or complex syncing in post-production.
- Cons:
- Proximity to Motors: Its position on the camera places it dangerously close to the gimbal’s motors.
- Adds Weight: Larger shotgun mics can be heavy and difficult to balance, especially on smaller, consumer-grade gimbals.
Best for: Vloggers, run-and-gun documentarians, and capturing general environmental audio that matches the scene.
The Wireless Lavalier System: For Crystal-Clear Dialogue
When your subject’s voice is the most important element, a wireless lavalier (or “lav”) mic is unbeatable. This system consists of a small microphone clipped to the talent, a transmitter pack they wear, and a receiver mounted on your camera.
- Pros:
- Excellent Voice Isolation: The mic is inches from the sound source (the person’s mouth), ensuring their voice is clear and dominant over any background noise.
- Freedom of Movement: The subject can move far away from the camera without any change in audio quality.
- Eliminates Gimbal Noise: Since the microphone isn’t physically attached to the gimbal rig, it’s completely isolated from motor hum and handling noise.
- Cons:
- More Complex Setup: You have to mic up the talent, manage batteries for both the transmitter and receiver, and monitor for wireless interference.
- Can Look Unprofessional: A visible microphone clip may not be suitable for narrative films or high-end corporate work.
Best for: Interviews, narrative filmmaking, educational content, and any scenario where dialogue is paramount. Modern compact systems like the DJI Mic or RØDE Wireless GO II have made this the best microphone setup for gimbal use for a huge number of creators.
The Best Microphone Setup for Gimbal Use: A Step-by-Step Guide
Now, let’s turn theory into practice. Follow these steps to build a reliable, high-quality audio rig for your gimbal.
- Select Your Microphone Based on the Job
- Dialogue-heavy? Choose a wireless lavalier system. The audio quality benefits far outweigh the setup time.
- Vlogging or capturing ambience? A high-quality, lightweight on-camera shotgun mic is your best bet. Look for compact models specifically designed for mirrorless cameras.
- Mount the Microphone Strategically
- For shotgun mics, avoid mounting directly to the camera’s hot shoe if possible. This is often the point of least stability and greatest vibration.
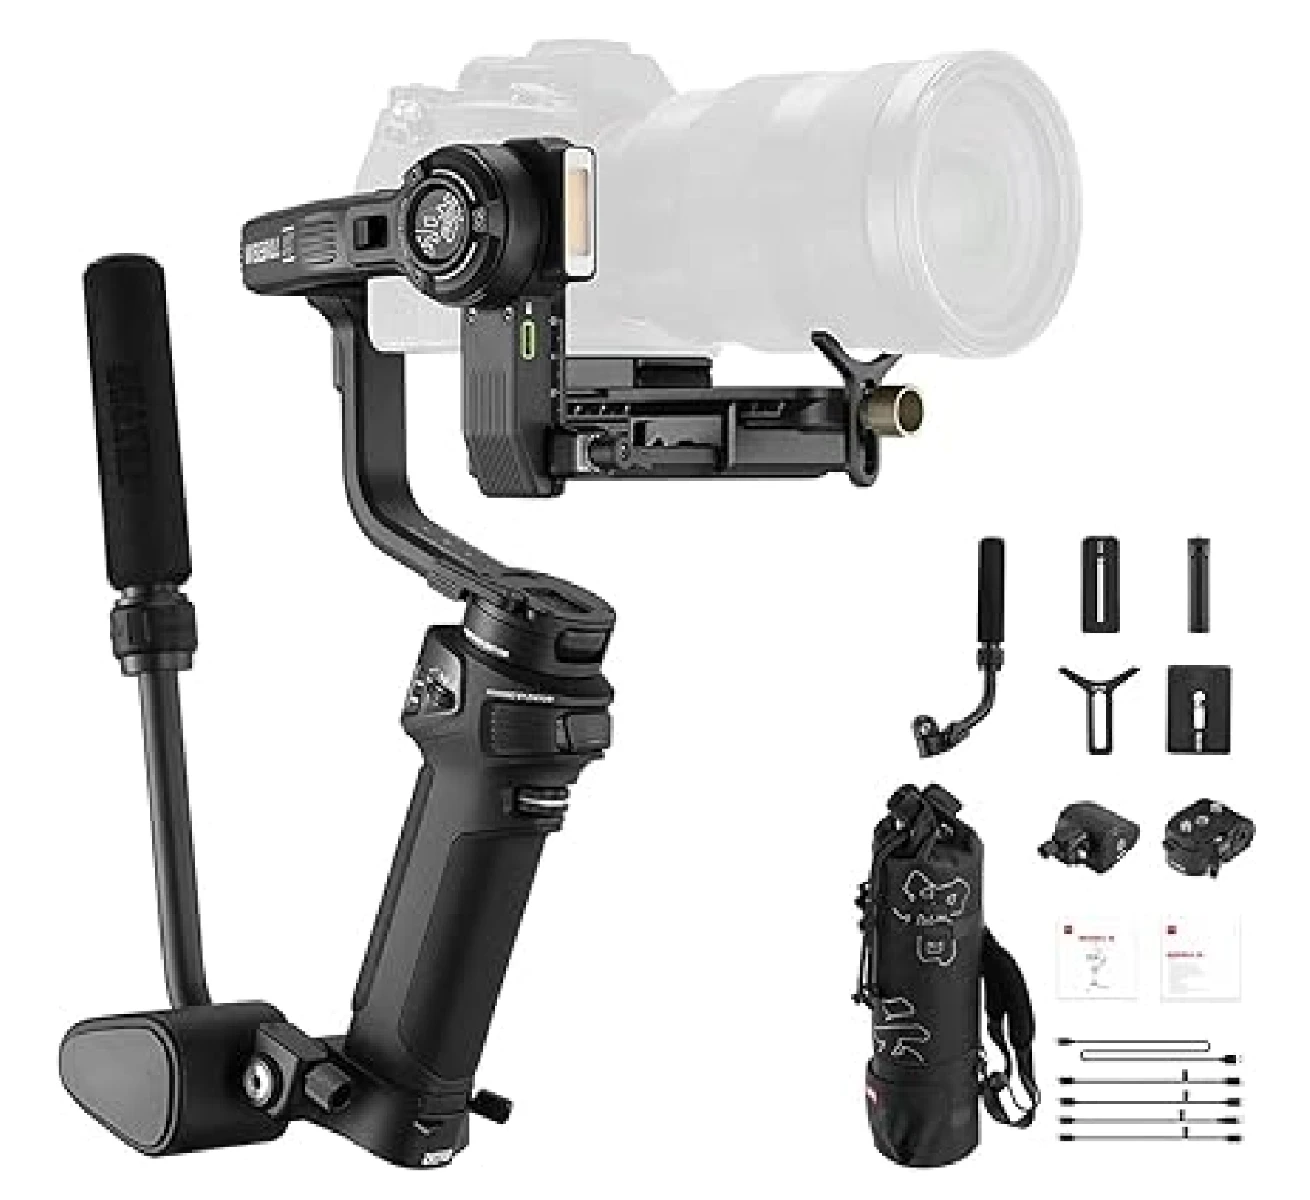
- Use a gimbal extension bracket or plate. These accessories attach to the side or handle of the gimbal, allowing you to mount the microphone away from the motors and on a more stable part of the rig. This simple change can dramatically reduce motor noise.
- For wireless receivers, use a small cold shoe adapter to mount it to the same extension bracket or even to the gimbal handle itself.
- Master Your Cable Management
- This step is non-negotiable. A loose cable will ruin your work.
- Use a short, coiled, or lightweight 3.5mm audio cable. Avoid long, heavy cables that can snag.
- Route the cable carefully. Run it along the gimbal arm, securing it with small velcro ties or gaffer tape. Leave just enough slack at the pivot points (the motors) to allow for a full range of motion without pulling or snagging. Test the gimbal’s movement in all directions to ensure the cable is free.
- Balance Your Gimbal Perfectly
- After mounting your microphone, receiver, and cables, you must re-balance your gimbal. Do not skip this.
- Balance each axis (pan, tilt, and roll) one at a time with the camera turned off.
- A perfectly balanced gimbal allows the camera to stay in position on any axis even when powered down. This means the motors only have to work to counteract your movement, not to fight against gravity and an imbalanced load. A properly balanced rig is a quieter rig.
- Set Your Audio Levels and Monitor Constantly
- Don’t “set it and forget it.” Your audio levels are critical.
- Set the gain in your camera’s menu as low as possible to reduce the camera’s internal preamp noise. Boost the signal from your microphone’s output level if it has that feature.
- Aim for audio levels that peak between -12dB and -6dB. This gives you clean audio without the risk of “clipping” (digital distortion from a signal that’s too loud).
- Always use headphones. Plug a pair of headphones into your camera’s headphone jack to monitor the audio in real-time. This is the only way to know for sure if you’re picking up wind noise, motor hum, or radio interference.
“Your ears are your most important tool on set,” advises Alex Rivera, a seasoned documentary filmmaker. “The meters on your camera’s screen can’t tell you if the noise you’re hearing is a distant air conditioner or the gimbal’s roll motor whining. Only live monitoring can save a take.”
Essential Accessories to Elevate Your Gimbal Audio
Perfecting your best microphone setup for gimbal use often involves a few key accessories.
- Wind Protection: A foam cover is fine for indoors, but for any outdoor shooting, a “deadcat” (a furry wind muff) is absolutely essential to prevent wind from destroying your audio.
- Shock Mount: Most quality shotgun mics come with a shock mount. This suspends the microphone in elastic bands, isolating it from vibrations and handling noise. Ensure it’s in good condition.
- Extension Brackets: As mentioned, these metal or carbon fiber plates are invaluable for mounting microphones and other accessories off-camera, which is crucial for proper balance and noise reduction.
- [Explore our recommended lightweight audio cables for gimbals]
Frequently Asked Questions (FAQ)
What is the absolute best microphone setup for gimbal use?
For ultimate versatility and quality, a compact wireless system like the DJI Mic or RØDE Wireless GO II is the top choice. You can use one transmitter as a wireless lavalier for dialogue or clip it to an extension bracket to act as a wireless, isolated on-camera microphone, free from motor noise.
How do I completely stop gimbal motor noise in my audio?
The best way is physical isolation. Use a wireless system so the microphone isn’t touching the gimbal rig. If using a shotgun mic, mount it on an extension bracket as far from the motors as possible, and ensure your gimbal is perfectly balanced so the motors work silently.
Can I use a big, professional shotgun mic on my gimbal?
It depends on your gimbal’s payload capacity. A heavy microphone like a RØDE NTG3 on a small gimbal like a DJI RS 3 Mini will be impossible to balance. You need a professional cinema gimbal (like a DJI Ronin 2 or Mōvi Pro) designed to handle heavy camera and accessory payloads.
Should I record audio separately and sync it later?
For the absolute highest quality, recording to a dedicated audio device (like a Zoom H4n or Sound Devices MixPre) and syncing the audio in post-production is the professional standard. However, for most content creators, the quality from modern wireless systems recording directly into a mirrorless camera is more than sufficient and saves significant time.
Is the camera’s built-in microphone good enough for gimbal use?
No. The camera’s internal microphone is not a viable option for professional results. It will pick up an enormous amount of motor and handling noise, and its audio quality is generally poor. It should only be used as a last resort or for creating a scratch track to sync higher-quality external audio.
Conclusion: Sound in Motion
Achieving great audio with a gimbal isn’t about finding a single magic bullet. It’s about a holistic approach—understanding the challenges, choosing the right tool for the specific scene, and meticulously setting up your rig for success. The visual language of smooth, flowing camera movement is incredibly powerful, but it only reaches its full potential when paired with audio that is just as clean, clear, and immersive. By investing the time to build and master the best microphone setup for gimbal use, you are investing in the quality and professionalism of your final product, ensuring your creative vision is both seen and heard perfectly.