As a creator, you’ve invested in a gimbal to capture those silky-smooth, cinematic shots that elevate your work from amateur to professional. Yet, you’re still plagued by a slightly tilted horizon, a subtle drift, or that frustrating micro-judder that ruins the perfect take. The culprit is often not the gimbal itself, but a misunderstanding of a crucial maintenance step. Learning How To Properly Calibrate A Gimbal is not just a technical chore; it’s the secret handshake between you and your equipment, unlocking its true potential for flawless stabilization. This guide will demystify the process, transforming calibration from a source of frustration into a powerful tool in your creative arsenal.
Why Is Gimbal Calibration So Crucial?
Before diving into the “how,” it’s essential to understand the “why.” What is gimbal calibration, really? At its core, calibration is the process of teaching your gimbal’s electronic brain—its Inertial Measurement Unit (IMU)—what “level” and “still” truly mean. Think of a master chef meticulously zeroing out their digital scale before measuring ingredients. Without that baseline, every subsequent measurement is flawed, leading to an imperfect dish.
Similarly, a gimbal’s sensors (accelerometers and gyroscopes) can develop tiny errors over time due to temperature changes, travel vibrations, or even minor bumps. Without calibration, the gimbal operates on faulty information. This leads to common issues that even the most advanced gimbals can’t overcome on their own:
- Horizon Drift: The camera slowly tilts to one side, even when you’re standing still.
- Motor Strain and Noise: The motors work overtime, trying to correct for perceived errors that don’t exist, leading to whining sounds and reduced battery life.
- Shaky or Jittery Footage: The gimbal makes small, erratic corrections, introducing high-frequency vibrations into your video.
- Poor Follow-Mode Performance: The gimbal struggles to track your movements smoothly and accurately.
Properly calibrating your gimbal resets its digital “zero point,” ensuring its motors and sensors work in perfect harmony to deliver the stable footage you expect.
Balancing vs. Calibration: Unpacking the Critical Difference
Many creators use the terms “balancing” and “calibrating” interchangeably, but they are two distinct, sequential processes. Confusing them is the number one reason for poor gimbal performance.
Mechanical Balancing: The Physical Foundation
Balancing is a purely physical, mechanical process. It involves adjusting the position of your camera on the gimbal’s axes until it can hold any position without falling in any direction, even with the gimbal’s motors turned off. This is about achieving a state of neutral equilibrium. It’s the non-negotiable first step. An unbalanced gimbal forces the motors to fight against gravity constantly, which no amount of electronic calibration can fix.
Expert Insight: “Think of it this way: mechanical balancing is about making the gimbal’s job as easy as possible. Calibration is about making the gimbal as smart as possible. You cannot achieve the latter without first mastering the former.”
Electronic Calibration: The Digital Brain
Calibration is the electronic process that takes place after the gimbal is perfectly balanced. This is where you use the gimbal’s companion app or onboard menu to fine-tune the sensors and motors. There are typically two types of electronic calibration.
- IMU / Accelerometer Calibration: This calibrates the core sensors that detect motion and orientation. This process usually requires placing the gimbal on a perfectly flat surface in several different orientations so it can establish a true baseline for what is level.
- Motor Calibration / Auto-Tune: This process adjusts the power output of each motor to perfectly match the weight and distribution of your specific camera and lens setup. It ensures the motors provide just enough power—not too little (causing shakes) and not too much (causing vibrations and noise).
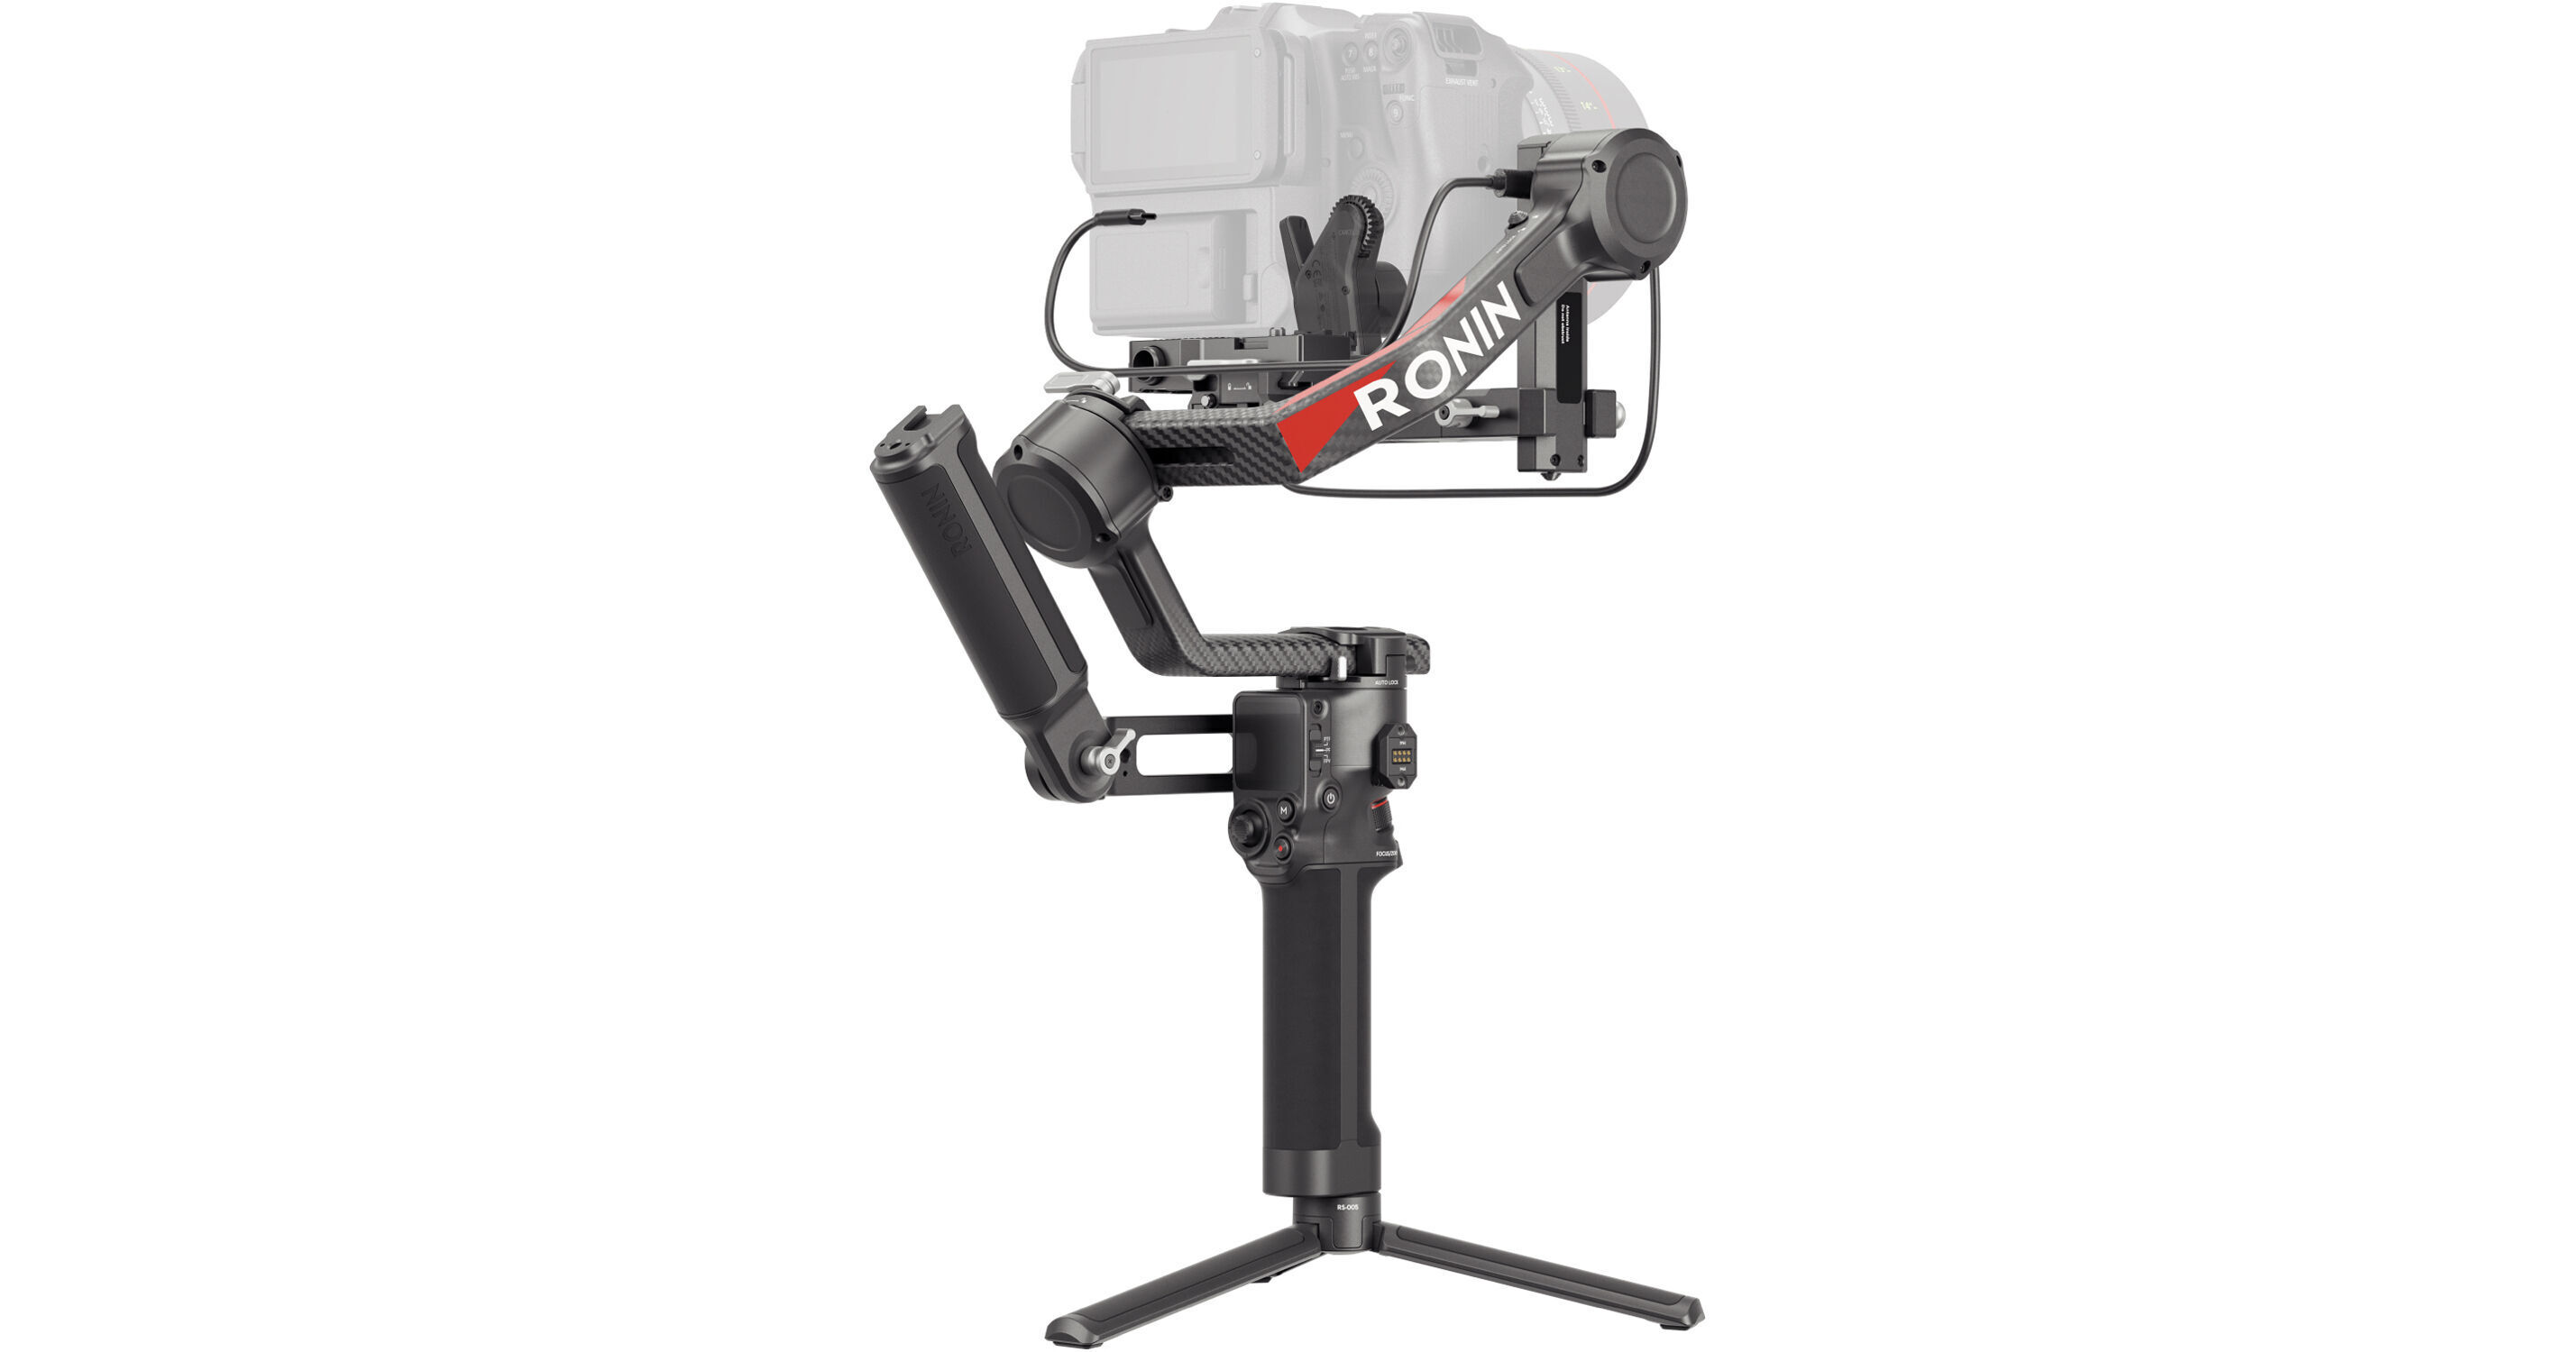
[amz id="stabilizer"]
The Step-by-Step Guide on How to Properly Calibrate a Gimbal
Now, let’s walk through the universal process. While the exact menu options may differ slightly between brands like DJI, Zhiyun, or Moza, the core principles remain the same. Always consult your gimbal’s manual for specific instructions.
- Achieve a Perfect Mechanical Balance (Prerequisite)
Before you even think about turning the gimbal on, ensure your camera setup is perfectly balanced. This means balancing the tilt axis, the roll axis, and the pan axis in sequence. The camera should stay put in any position you leave it in. If you change a lens, add a filter, or even open the flip screen, you must re-balance. This step is 80% of the work. - Find a Perfectly Still and Level Surface
This is non-negotiable for an accurate IMU calibration. Use a table or floor that you know is level. If you’re unsure, use a bubble level app on your smartphone to verify. Performing calibration on an uneven surface will teach your gimbal an incorrect “level,” bake in a tilted horizon from the start. - Perform the IMU (Six-Sided) Calibration
This is the most in-depth calibration. Access this function through your gimbal’s mobile app or onboard screen. The process will guide you to place the gimbal in a series of specific positions (usually six) on that level surface.- Typically, this involves placing it upright, on its front, on its back, on its left side, etc.
- Be precise and gentle when changing positions.
- Do not touch or move the gimbal while the calibration for each position is in progress.
- This process gives the sensors a complete, 360-degree understanding of their orientation relative to gravity.
- Run the Motor Calibration (Auto-Tune)
With the gimbal still on the flat surface and the camera setup mounted and balanced, initiate the motor calibration or “Auto-Tune” feature from the app.- The gimbal will vibrate and move on its own for a minute or two.
- During this process, it’s measuring the payload’s weight and inertia on each axis.
- It then calculates the optimal motor stiffness and power required to stabilize that specific setup smoothly and efficiently.
- Test and Fine-Tune
Once the calibration is complete, power cycle the gimbal (turn it off and on again). Pick it up and test its performance.- Check for a level horizon.
- Move the gimbal around to test the follow modes. Does it respond smoothly?
- Listen to the motors. Are they quiet and operating effortlessly?
If you still notice minor issues, some gimbals allow for manual fine-tuning of motor parameters or horizon leveling within the app.
As Mechatronics Engineer Dr. Alistair Finch notes, “The auto-tune function is incredibly sophisticated, but it relies on a clean dataset. That dataset is generated by a perfect mechanical balance and a flawless IMU calibration. Garbage in, garbage out. If you feed the system clean data, you’ll get a level of performance that feels almost magical.”
When Should You Recalibrate Your Gimbal?
Knowing how to properly calibrate a gimbal is one thing; knowing when to do it is another. You don’t need to do it every time you shoot, but you should perform a full calibration routine in these situations:
- Significant Payload Change: When you switch to a much heavier or lighter lens. A quick motor auto-tune is often sufficient here.
- After Traveling: Especially after a flight or a bumpy car ride, as vibrations can affect sensor accuracy. A full IMU calibration is recommended.
- Experiencing Performance Issues: If you notice any drifting, vibrations, or a consistently off-level horizon.
- Major Temperature Shifts: Going from a cold, air-conditioned room to a hot, humid outdoor environment can impact sensor performance.
- After a Firmware Update: Manufacturers often refine their stabilization algorithms, and a fresh calibration ensures you’re getting the most out of the update.
Frequently Asked Questions (FAQ)
What is the difference between gimbal balancing and calibration?
Balancing is the physical process of adjusting the camera’s position on the gimbal so it is neutrally buoyant on all axes with the power off. Calibration is the electronic process of resetting the gimbal’s sensors and tuning its motor strength for that balanced payload with the power on.
How often do I need to learn how to properly calibrate a gimbal?
You should perform a full six-sided IMU calibration after traveling, after a firmware update, or whenever you notice performance issues like drifting. You should perform a motor calibration (auto-tune) every time you significantly change the camera or lens setup.
Why is my gimbal drifting or tilted even after calibration?
The most common cause is performing the IMU calibration on a surface that was not perfectly level. The second most common cause is a poor initial mechanical balance, which is causing the motors to struggle and create errors. Re-do both processes, starting with a confirmed level surface.
Can I calibrate the gimbal with my smartphone instead of my camera?
Yes, but you must first perfectly balance the gimbal with the smartphone and any accessories (like a case or lens adapter) mounted. The calibration process tunes the gimbal for whatever payload is on it at that moment.
Does adding a small accessory like an ND filter require a full recalibration?
Adding a lightweight ND filter might not require a full re-balance, but it’s good practice. After re-balancing, it is highly recommended to run a quick motor calibration (auto-tune) to ensure the motors adapt to the slight change in weight. An IMU calibration is likely not necessary.
Conclusion: From Chore to Craft
Viewing gimbal maintenance as a tedious chore is a barrier to creativity. Instead, reframe it as part of your craft, like a musician tuning their instrument before a performance. By investing a few minutes to ensure a perfect balance and a precise electronic tune-up, you’re not just fixing a technical problem; you’re empowering your equipment to perform at its peak. Mastering how to properly calibrate a gimbal is a fundamental skill that pays dividends in every shot, ensuring your visual stories are told with the clarity, smoothness, and professionalism they deserve.