Ever watched a real estate video where the camera wobbles with every footstep, making a luxury penthouse look like it was filmed during an earthquake? That jarring experience instantly devalues the property and screams “amateur.” This is the exact problem we’re here to solve. Learning How To Use A Gimbal For Real Estate Tours is no longer a luxury for high-end agencies; it’s the fundamental skill that separates forgettable listings from properties that sell. A gimbal is your key to unlocking fluid, cinematic motion that immerses potential buyers and showcases a home in its best possible light.
In this comprehensive guide, we’ll move beyond the basics. We’ll explore the science behind these incredible tools, walk you through a professional setup process, and teach you the specific camera movements that create an emotional connection with the viewer, turning a simple tour into a compelling story.
What is a Gimbal and Why is it Essential for Real Estate?
A gimbal is a sophisticated stabilization device that uses brushless motors and intelligent sensors to counteract unwanted camera movements. Think of it as a high-tech suspension system for your camera. As you walk, tilt, or pan, the gimbal’s internal “brain”—the Inertial Measurement Unit (IMU)—instantly detects the motion and commands the motors to move in the opposite direction, keeping your camera perfectly level and stable.
The result? Incredibly smooth, floating footage that was once only achievable with expensive Hollywood equipment like Steadicams or dollies. For real estate, this translates directly to higher perceived value.
A gimbal doesn’t just steady a shot; it elevates the narrative. It transforms a simple walkthrough into a graceful, guided experience, allowing the architecture and design to speak for themselves without the distraction of shaky footage.
Smooth video gives the impression of quality, luxury, and professionalism. It allows a potential buyer to feel as if they are effortlessly gliding through the space, building a connection that shaky, handheld footage simply cannot replicate.
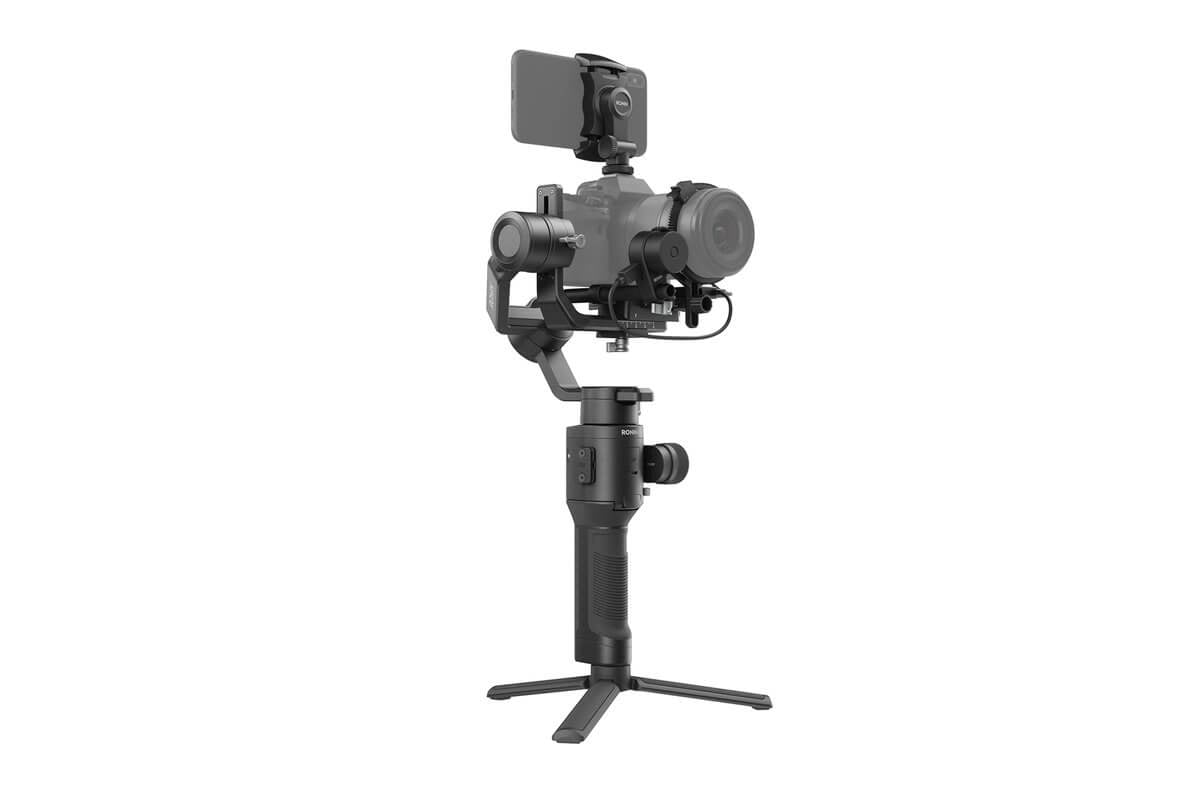
The Core Anatomy of Your Gimbal: Demystifying the Tech
Before you can master the moves, it’s crucial to understand the machine. While gimbals come in various sizes, from smartphone models to those for heavy cinema cameras, they all operate on the same core principles and share three primary components.
- The 3 Axes (Pan, Tilt, Roll): These are the pillars of gimbal stabilization.
- Pan Axis: Controls left and right movement, like shaking your head “no.”
- Tilt Axis: Controls up and down movement, like nodding your head “yes.”
- Roll Axis: Controls rotational movement along the horizon, like tilting your head to the side. The gimbal’s motors work tirelessly across these three axes to keep the horizon level and the motion smooth.
- Brushless Motors: These are the muscles of the gimbal. They are powerful, quiet, and incredibly responsive, making thousands of micro-adjustments per second to neutralize any bumps or shakes.
- Inertial Measurement Unit (IMU): This is the brain. The IMU is a combination of accelerometers and gyroscopes that senses the gimbal’s orientation and motion in space, feeding that data to the motors.
Imagine trying to carry a full glass of water across a bumpy room without spilling. Your arm and wrist are constantly making tiny adjustments to keep the glass level. A gimbal does the exact same thing for your camera, but with superhuman precision.
Pre-Shoot Checklist: Setting Up Your Gimbal for Success
Flawless footage begins with a flawless setup. Rushing this process is the most common mistake beginners make. Follow these steps meticulously before every shoot to ensure your gimbal performs at its peak.
Bảng trống.- Attach All Accessories First: Before you even think about mounting the camera, attach everything you’ll be using for the shoot. This includes the lens, lens cap, filters, microphone, and any necessary cables. The gimbal must be balanced with the exact weight and weight distribution it will have during filming.
- Achieve Perfect Mechanical Balance: This is the most critical step. An unbalanced gimbal forces the motors to work overtime, resulting in shaky footage, vibrations, and drained batteries. You must balance each of the three axes individually while the gimbal is turned off.
- Tilt Axis: Point the camera straight up. It should stay there without you holding it. If it falls forward or backward, adjust its position on the mounting plate until it’s perfectly still.
- Roll Axis: Hold the gimbal handle parallel to the ground. The camera arm should remain horizontal. If it sags to one side, adjust the roll arm until it stays perfectly level.
- Pan Axis: With the roll axis balanced, tilt the gimbal handle forward. The pan arm should not swing left or right. If it does, adjust the pan motor’s position.
- Pro Tip: A perfectly balanced camera should stay in any position you leave it in, even with the power off.
- Power On and Calibrate: Once mechanical balance is achieved, power on the gimbal. Most modern gimbals will have an auto-calibration or “auto-tune” feature in their companion app. Run this to allow the gimbal to fine-tune its motor strength to your specific camera setup.
- Select the Correct Mode: Gimbals have several follow modes that dictate how they respond to your movements. For real estate, you’ll primarily use two:
- Pan Follow Mode: This is your workhorse. The gimbal smooths out your pans (left/right movements) while keeping the tilt and roll axes locked. This is perfect for walking down hallways or panning across a room.
- Lock Mode: All three axes are locked. No matter how you move the handle, the camera remains pointed in a single direction. This is excellent for “dolly” shots where you move past an object, like a kitchen island, while the camera stays focused on a feature wall.
- Adjust Motor Response and Speed: Don’t just use the default settings. In the gimbal’s app, lower the “Follow Speed” and increase the “Smoothness” or “Deadband.” This prevents jerky starts and stops, giving you a much more graceful and cinematic feel perfect for the calm, elegant atmosphere of a home tour.
Mastering the Moves: How to Use a Gimbal for Real Estate Tours
With a perfectly balanced gimbal, it’s time to film. Your movement is just as important as the gimbal’s technology. Here are the essential shots every real estate videographer needs to master.
The Foundation: The “Ninja Walk”
How you walk is everything. Bouncing is the enemy of smooth footage.
- Bend your knees slightly.
- Roll your feet from heel to toe.
- Keep your upper body relaxed and absorb any vertical motion with your legs, not your arms.
- Practice this without the camera until it feels natural. Your goal is to glide, not walk.
Essential Cinematic Shots for Property Tours
- The Forward Glide: The most fundamental shot. Walk slowly and smoothly forward through doorways and down hallways. This shot is perfect for connecting spaces and guiding the viewer’s eye through the home’s layout.
- The Reveal: Start with an object in the foreground (like a wall or doorway) filling the frame. As you move sideways or forward, “reveal” the larger space behind it (e.g., the living room or a stunning view). This builds anticipation and makes spaces feel larger.
- The Orbit: This shot is ideal for highlighting a key feature like a kitchen island, a fireplace, or a freestanding tub. Keep the feature in the center of your frame and walk in a smooth semi-circle around it. This adds a dynamic, three-dimensional feel to the object.
- The Push-In and Pull-Out: Instead of using the zoom lens, physically move the camera. A slow push-in toward a detail (like a high-end faucet or custom millwork) draws the viewer’s attention. A slow pull-out from a tight space (like a bathroom) can make the room feel more expansive.
- The Jib/Crane Shot: You don’t need a crane to get this shot. Start with the camera low to the ground and, as you walk forward, smoothly raise the gimbal up to eye level or higher. This adds a grand, sweeping feel and is incredibly effective for opening shots or showcasing rooms with high ceilings.
Table: Comparing Gimbal Types for Real Estate
| Gimbal Type | Best For | Pros | Cons | Price Range |
|---|---|---|---|---|
| Smartphone Gimbal | Agents starting out, social media content, small properties | Lightweight, affordable, easy to use | Lower video quality, limited control | $70 – $150 |
| Mirrorless/DSLR Gimbal | Professional videographers, high-end listings | Excellent video quality, versatile, full manual control | Heavier, requires balancing skill, more expensive | $300 – $800 |
| Cinema Camera Gimbal | Large-scale luxury productions | The absolute best image quality, robust build | Very heavy, complex, requires a skilled operator | $1,000+ |
FAQ: Common Questions About Using Gimbals for Real Estate
What’s the best gimbal mode for real estate video?
For about 80% of your shots, Pan Follow mode is ideal. It provides a natural sense of movement as you guide the viewer through the property. Use Lock Mode for straight dolly-like shots where you want the camera’s direction to remain fixed.
How do I avoid seeing my reflection in windows or mirrors?
This is about angles, not gimbal technique. Before you start a shot, look at the reflective surface from the camera’s point of view. Plan your path to keep yourself out of the reflection. Sometimes shooting from a slightly lower or higher angle can completely solve the problem.
Should I shoot in 4K for real estate tours?
Yes, absolutely. Shooting in 4K gives you much more flexibility in post-production. You can crop, reframe, and even add digital stabilization without a significant loss in quality. It also future-proofs your content.
How long does it take to get good at using a gimbal?
Balancing can be learned in an afternoon, but mastering the smooth “ninja walk” and cinematic movements takes practice. Dedicate a few hours to practicing the core shots in your own home before taking it to a client’s property.
Can I use a gimbal with just my phone for professional tours?
With modern high-end smartphones, yes, you can achieve impressive results. A phone gimbal is a fantastic entry point. However, for luxury listings, the superior image quality, dynamic range, and lens options of a dedicated mirrorless or DSLR camera will always have a professional edge.
Conclusion: Elevate Your Listings with Cinematic Smoothness
A gimbal is far more than a piece of hardware; it’s a powerful storytelling tool. By understanding its mechanics, dedicating time to a proper setup, and mastering a few key movements, you can dramatically elevate the quality of your property videos. The ability to produce smooth, engaging, and professional-looking content is a crucial differentiator in a competitive market. Stop letting shaky footage undermine your listings. Embrace the stability, practice the techniques, and start creating real estate tours that don’t just show a house—they sell a lifestyle. Learning how to use a gimbal for real estate tours is an investment that will pay dividends in client satisfaction, brand perception, and ultimately, faster sales.